Image credits: Declan Sun at Unplash
Managing files from/to marbec-data
Linking a working folder to marbec-gpu.
[Content in preparation]
Managing files between marbec-data and our PC (FileZilla)
Installing FileZilla and connecting to marbec-data.
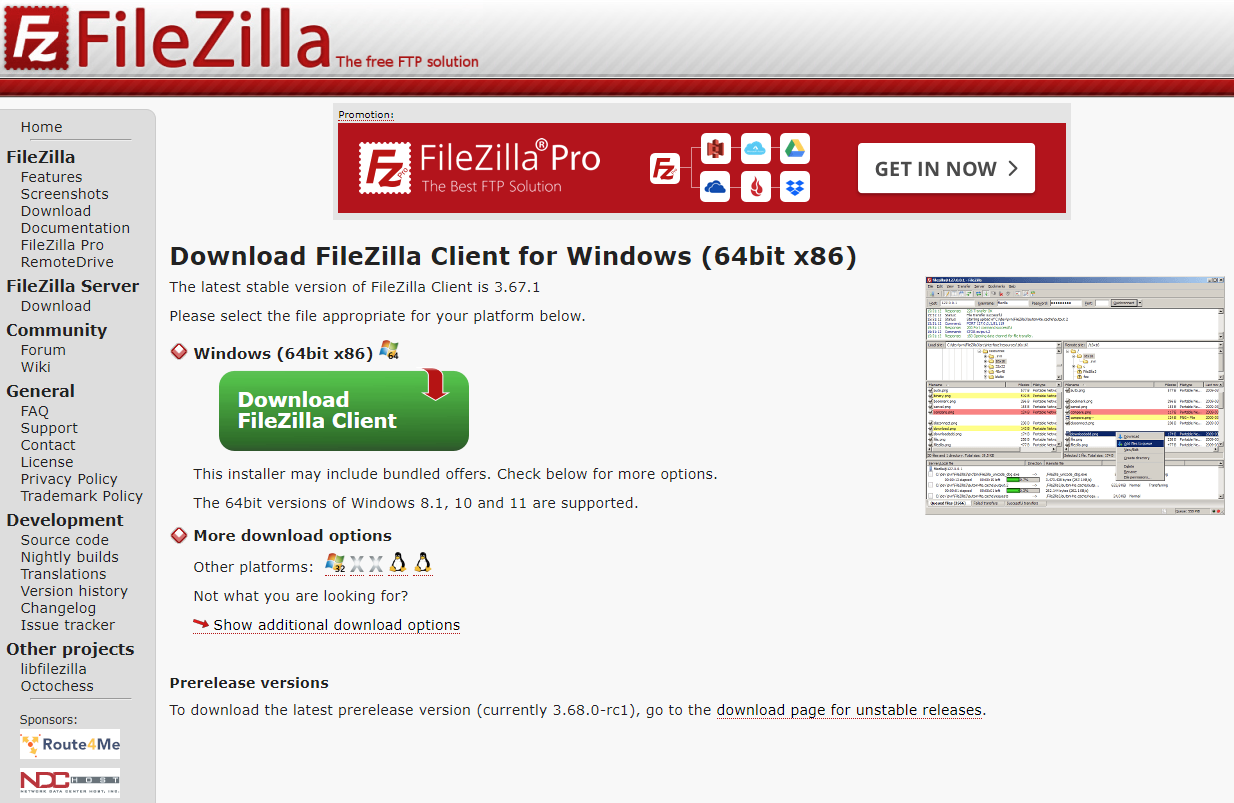
The easiest way to move (copy, cut and paste) files from our PC to one of our shared work folders or to our marbec-gpu user folder is through the (free) FileZilla software. To download the installer, just go to its official website https://filezilla-project.org/ and select the Download FileZilla Client button.

Then, by default we will be offered to download the version corresponding to the operating system (OS) where we are running our browser, but we can always choose the most appropriate version in the section More download options.
In recent years, processors with ARM architecture have been incorporated into the PC market. The most recent and famous example is Apple’s Mx series (e.g. M1); however, in recent months laptops with ARM processors (from the Snapdragon brand, for instance) have also appeared. Software compiled for an ARM architecture will not work on an x86 architecture (which is the architecture manufactured by brands such as Intel or AMD) and vice versa, so it will always be important to know not only which OS our PC is running (Windows, MacOS or Linux), but also the architecture of our processor.
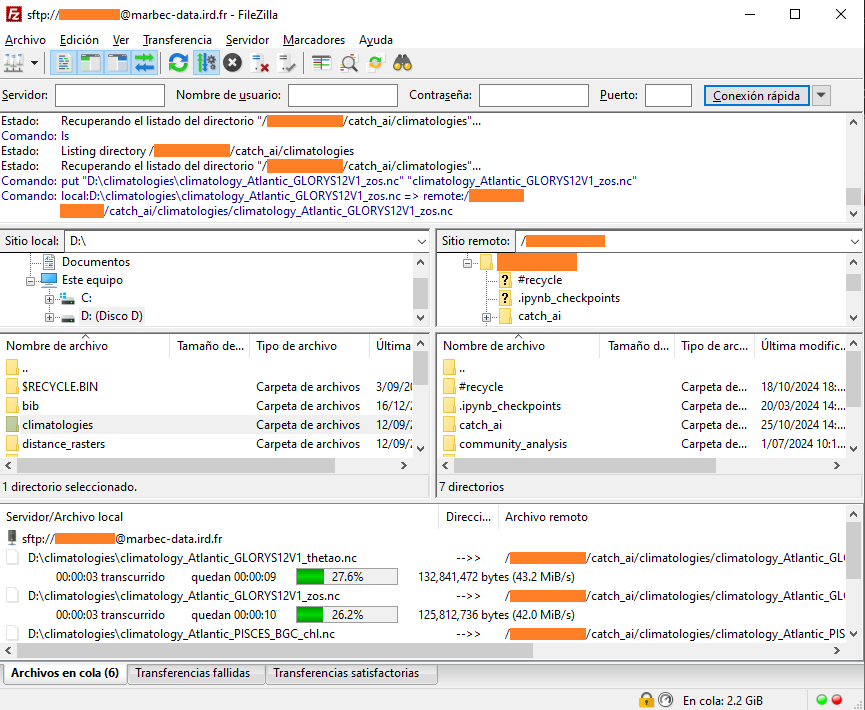
Once the file has been downloaded, it will be enough to run it leaving most of the options by default (except those that offer us to install some additional program that we do not need, e.g. Chrome). After that, we will be able to run the program and we will obtain an environment that will look like this:
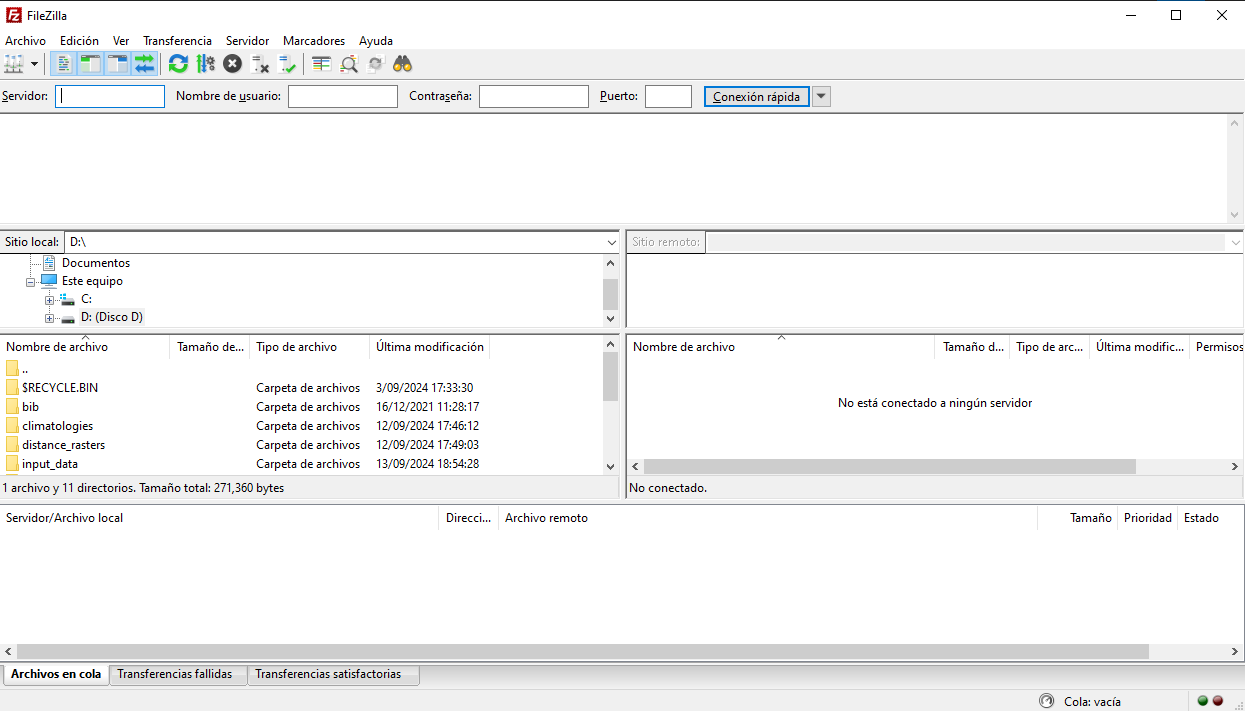
The next thing we will do is to establish a connection to marbec-data. To do this, at the top, we will fill in the following fields:
- Server: marbec-data.ird.fr
- User: youruser
- Password: yourpassword
- Port: 22
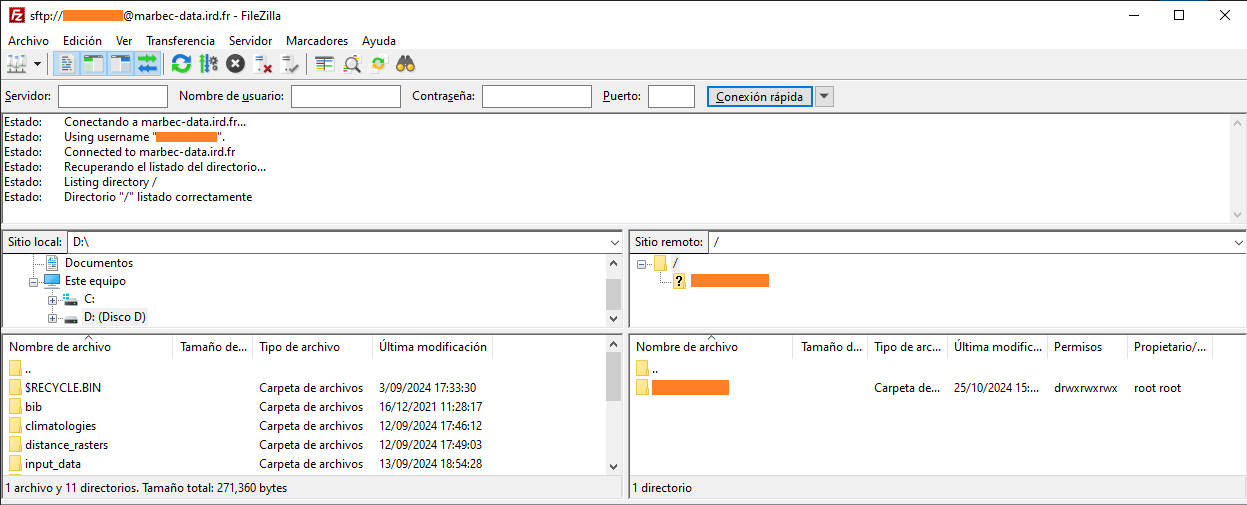
If all goes well, a message indicating that the connection has been successful will be displayed in the panel immediately below. In addition, the next two lower panels to the right will show those folders already linked and available in our marbec-data account.
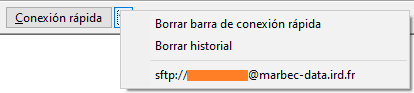
It is not necessary to log in every time we log back into FileZilla. We could save our login and skip the above steps by clicking the small arrow to the right of Quick Login and selecting our saved login. Of course, allowing our login credentials to be saved should ONLY occur on our personal PC.
And that is all! In the left panels, we will be able to navigate in the directories of our PC, while in the right panels we will be able to do it in the marbec-gpu and marbec-data ones.
Copying files and folders
It will be as simple as dragging the element between the left and right panels. The process will start and the bottom pane (the last one) will show the queued, completed and failed transfers.
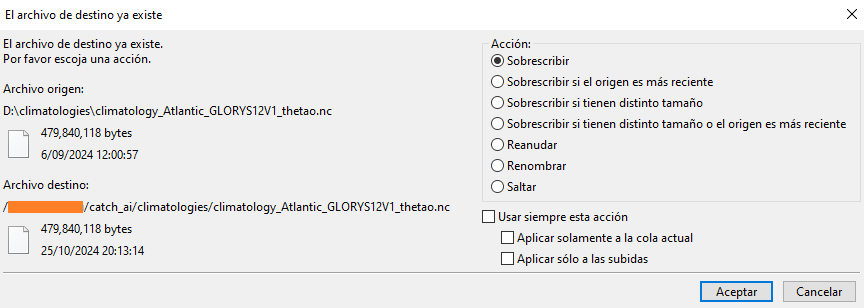
Also, if at any time FileZilla detects that there are repeated items, it will show a small window with multiple options available (overwrite and skip, verify differences in sizes or names, apply the selected option to future cases in the transfer queue, etc.).
Manage files within marbec-data.
While the marbec-data web environment explorer offers the options to copy, paste, delete, etc., it is not an efficient method when our files are medium or large (>10 MB). Here is how to perform these operations from Terminal.
Copy-paste
For this, the simplest way is through the cp command and making use of the navigation commands cited in this post (e.g. .. to indicate a previous folder). The basic syntax is the following: cp path/origin /path/destination, but there are different possible cases:
Copy a file into the same folder, but with a different name (create duplicate):
cp file1.csv file1-dup.csv.Copy a file to another folder:
cp path/file1.csv path/destination.Copy more than one file to another folder:
cp path/file1.csv path/file2.csv folder/destinationCopy a folder to another folder:
cp path/folder1 path/folder2 --recursiveorcp path/folder1 path/folder2 -r.
By default, cp will overwrite any file with the same name. To avoid this, it is possible to add the -n option as follows: cp path/from/file1.csv path/destination -n.
Cut-paste (and also rename)
It will be very similar to the above, but through the mv command:
Rename a file (within the same folder):
mv file1.csv file2.csvMove a file to another folder:
mv path/file1.csv path/to/destinationMove one file to another folder:
mv path/file1.csv path/file2.csv path/destinationMove one folder to another folder:
mv path/old/folder path/new/folder
Delete
For this, we will use the rm command as follows:
Delete a file:
rm path/to/file.csvDelete a folder (and all its contents):
rm path/to/folder -r
While inside Terminal it is always possible to cancel a command using the shortcut Ctrl+C (or Cmd+C on MacOS), once the rm command completes its work, there is no way to revert the deletion or recover it from a recycle garbage can, so be very careful when using it.